Step Three
Unfortunately when only working with one or two other people there is a lack of extra hands to take pictures.
So, much to my dismay I am going to have to explain what’s going on here.
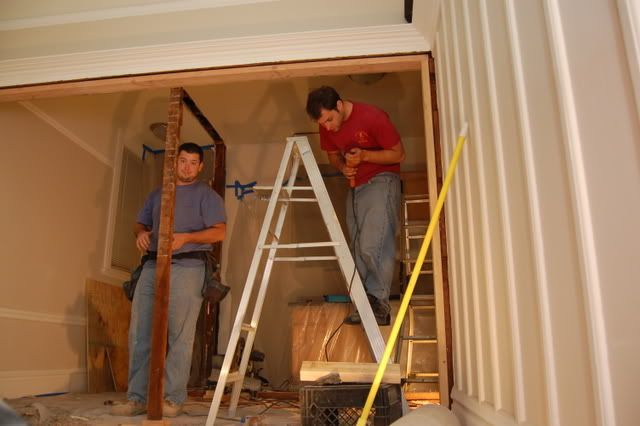
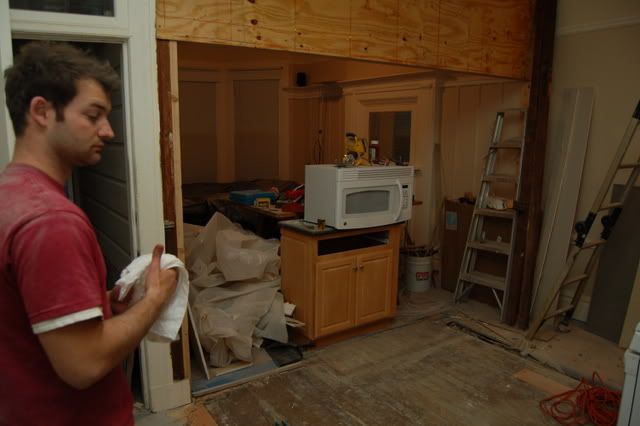
From the above picture to the below pictures we did the following:
o Removed all the Plaster
o Removed all the Lath
o Removed all the electrical
o Removed the 3 doors
o Removed the 3 Door Frames
o Cut out all the studs for the wall on the right
o Cut out all but 2 of the studs for the wall on the left
o Using Ply Wood, we turned the wall on the left into a giant Box Beam
o Supported the wall on the left with a temporary stud
o Cut out the fist of the two remaining studs
o Now we arrived at the picture below where we are cutting out the final original stud leaving our temporary support stud
Once the last original support beam was removed, we fastened our final new support beam to the underside of the wall.
Once we were sure that the wall wasn’t going to come crashing down, we removed our temporary support beam and this is the result.
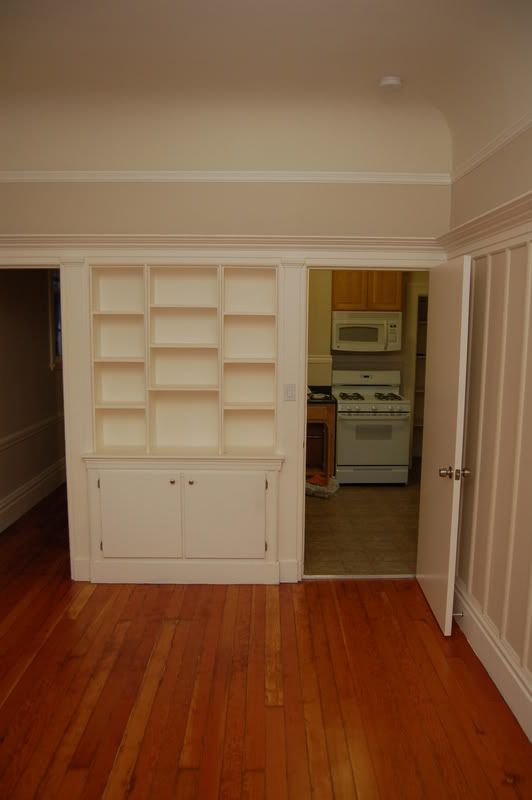
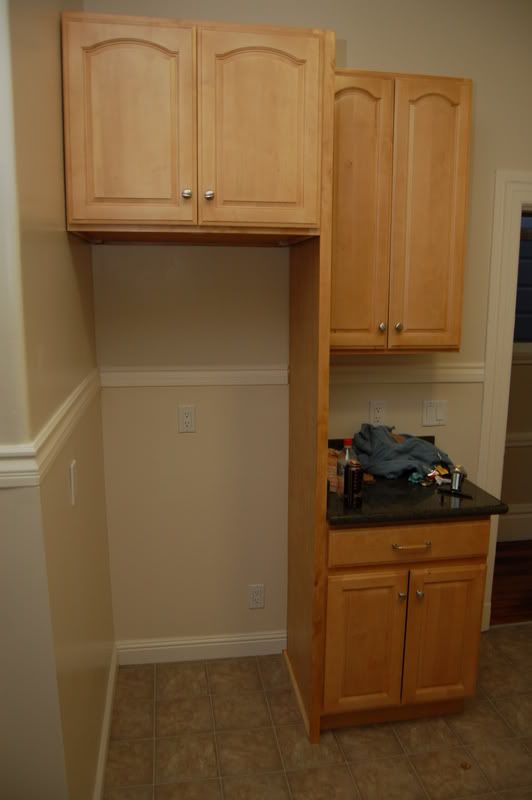
A couple of before and after pictures (although this project is obviously not complete) .
Before:
After:
Before:
After:
Still more to come... Stay Tuned


No comments:
Post a Comment